
Before bottling, the piano was assembled dry and the
legs taped in place in order to mark the bottom of the leg positions on a piece
of paper.


The inside base of the bottle was now covered with a 10mm layer of brown coloured resin. The resin was poured using a small straw mounted funnel and then left to cure overnight.

3 thin strips of wood were then glued onto the resin
and when set, 4 pieces of 4mm ply were inserted and glued at 90° to the strips.

The paper template of the leg positions was inserted
and placed on the plywood “Floor” and the leg positions marked.
Slightly oversized locating holes were then drilled by
hand in the 4mm ply floor using a modified drill bit.

BOTTLING.
The piano lid was made in 2 parts.
Each part consisted of a 1mm styrene half piece and a
0.4mm styrene full piece (flap).
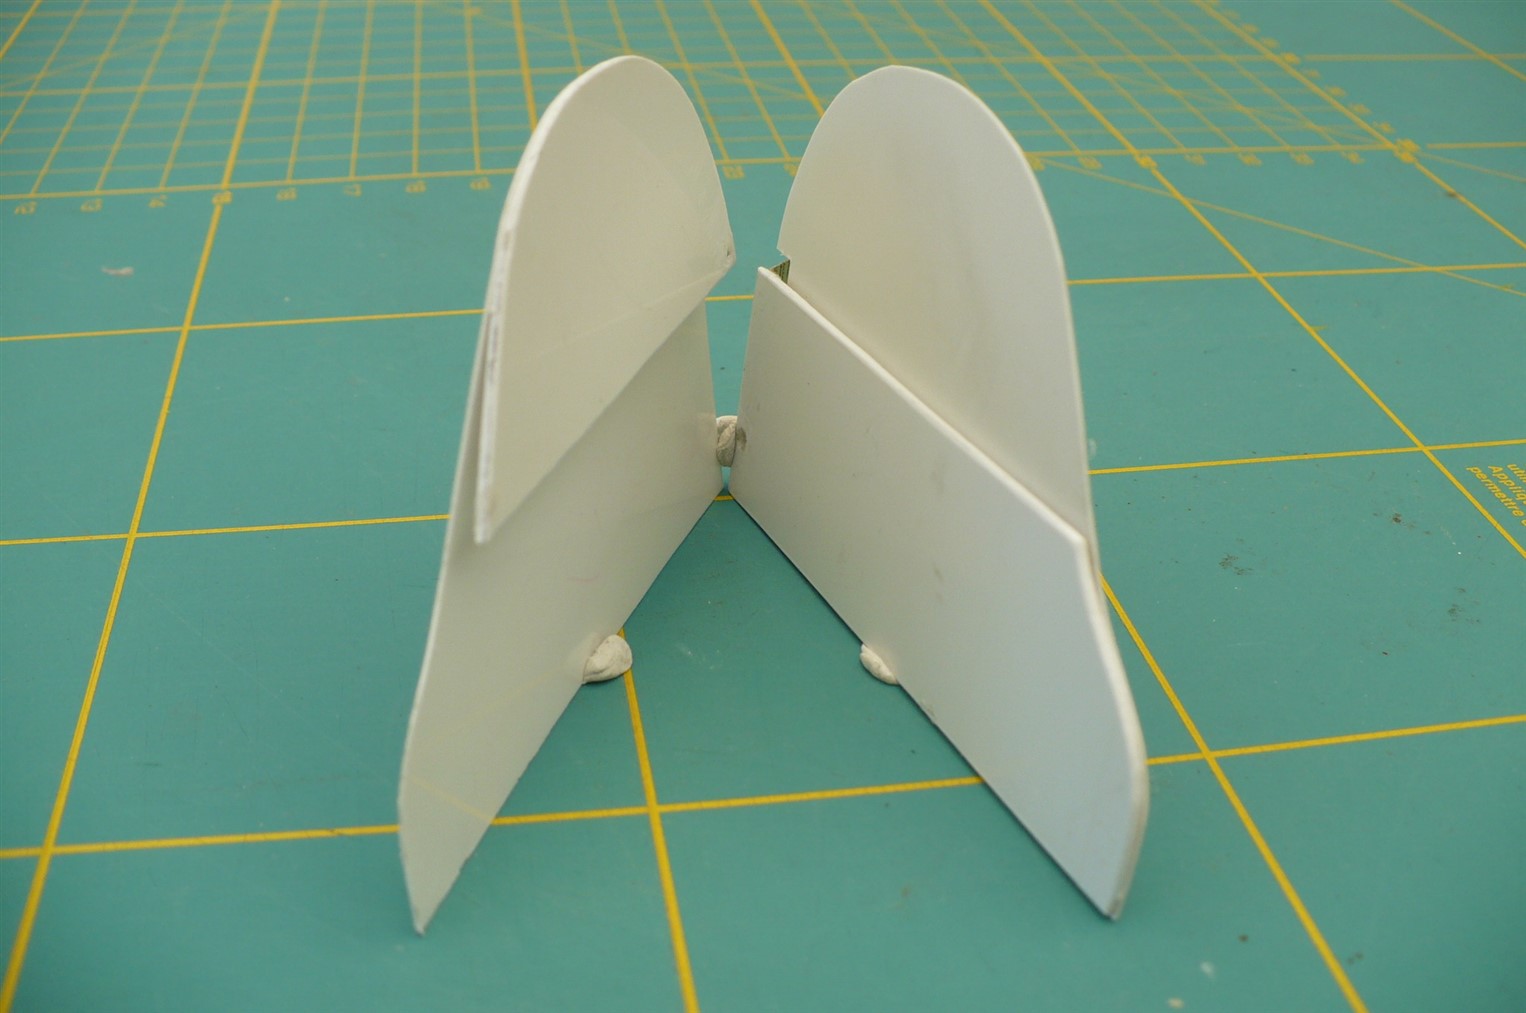
The 0.4mm flap was bent over the thick piece in order
for it to go through the neck of the bottle. Once inside, the rest of the flaps
were then glued to their thick pieces.

The two parts were then glued to each other to form a
solid lid.

The top hinged flap was then glued in place.
The pre-formed curved piano side piece was now
inserted. The keyboard section was inserted and glued to the piano sides.
The two parts
of the underneath base were then inserted and glued in place, followed by the
front piece above the keys.

When set, the 3 pieces of the string frame were
inserted and glued in place.

The piano was flipped over and the legs and pedal unit
were inserted and glued in place.

Notice the locating pins to glue the legs to the
floor.
When fully dry, the piano was flipped back over and
the legs located in their corresponding holes in the floor and glued in place.
The music stand section was now glued in place and
when dry, the lid and stay fitted.
More resin was now poured in around the sides to fill the gap between the floor and the resin base and cover the floor with about 1mm to give a polished wood effect to the floor.
No comments:
Post a Comment